
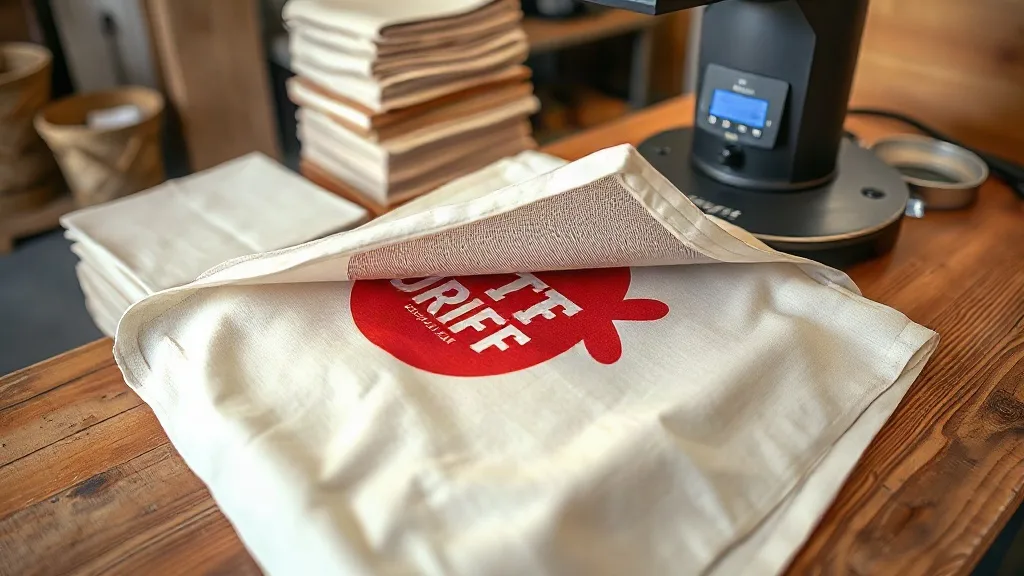
Canvas tote bags have become a staple for brands, events, and everyday shoppers. They are practical, reusable, and offer a large printable area. But when it comes to decorating them with dtf transfers, many print shops run into trouble. The rough, textured surface of canvas behaves very differently from a cotton t-shirt. Prints peel, crack, or look washed out. In this guide, I will share what I have learned from pressing hundreds of canvas totes and how you can get professional, durable results with dtf technology.
Why Canvas Is a Different Beast for DTF
DTF transfers rely on a thermoplastic polyurethane (TPU) film that adheres to fabric under heat and pressure. On smooth, tightly woven fabrics like combed cotton, the adhesive flows evenly and bonds well. Canvas, however, is a coarse, open-weave fabric. The surface is uneven, and the gaps between threads can be significant. This creates two main challenges: incomplete adhesion and texture show-through.
When you press a DTF transfer onto canvas, the adhesive must penetrate the weave to lock onto the fibers. If the canvas is too rough or the pressure is insufficient, the film only sticks to the high points, leaving air pockets that lead to peeling after a few washes. Additionally, the texture of the canvas can telegraph through the print, making it look bumpy or distressed even if the design is solid.
Choosing the Right Canvas Blanks
Not all canvas totes are created equal. The quality of the blank dramatically affects your success rate. Here is what to look for:
- Fabric weight: Heavier canvas (12 oz and up) tends to have a tighter weave and a smoother surface, which improves adhesion. Lighter weights (6-8 oz) are more open and prone to texture show-through.
- Weave density: Inspect the bag closely. A dense, uniform weave with minimal gaps between threads will hold the transfer better than a loose, slubby weave.
- Finish: Some canvas totes are treated with water repellents or stain guards. These finishes can prevent the adhesive from bonding. Always ask your supplier if the canvas is finished, and if so, test a sample before committing to a large order.
- Color: Natural and white canvas are the most forgiving. Dark colors require a white toner layer in the transfer, which adds thickness and can make the print feel stiff on rough canvas.
I recommend ordering a few sample bags from different suppliers and pressing test prints. It takes an hour but saves you from costly mistakes later.
Preparing the Canvas for Pressing
Proper preparation is half the battle. Canvas often arrives with sizing agents, dust, or wrinkles from shipping. Follow these steps before pressing:
- Pre-press the bag: Place the tote on your heat press and press for 5-10 seconds at 320°F (160°C) to remove moisture and wrinkles. This also helps flatten the weave for better contact.
- Use a pressing pillow: Canvas totes have seams and handles that create uneven surfaces. A pressing pillow (or a folded towel) inside the bag lifts the print area and ensures even pressure.
- Check for obstructions: Make sure the handles, seams, and any labels are out of the way. You want a flat, smooth surface for the transfer.
Pressing Parameters for Canvas
Canvas requires higher pressure and slightly longer dwell times than typical garments. Here are starting parameters that have worked well for me:
- Temperature: 320-340°F (160-170°C). Too hot and you risk scorching the canvas; too cool and the adhesive won't flow.
- Pressure: Medium to high (40-60 psi). You need enough pressure to push the adhesive into the weave. If your press has a pressure gauge, aim for the higher end.
- Time: 15-20 seconds for the initial press. Peel the transfer while hot (if using a hot-peel film) or cold (if using a cold-peel film). Follow the film manufacturer's instructions.
- Second press: After peeling, cover the print with a Teflon sheet or parchment paper and press for another 5-10 seconds to smooth the film and improve adhesion.
Always test with a small sample first. Every press and canvas combination behaves a little differently.
Avoiding Common Pitfalls
Even with the right settings, canvas can be tricky. Watch out for these issues:
Print Peeling After Wash
This is usually caused by insufficient pressure or a canvas that is too rough. Try increasing pressure and dwell time. If the problem persists, switch to a canvas with a tighter weave.
Texture Show-Through
On very textured canvas, the print may look bumpy. You can minimize this by using a thicker transfer film or by applying a second layer of transfer powder (if you are printing your own transfers). Alternatively, choose designs with distressed or vintage elements that embrace the texture.
Scorching
Canvas can scorch if the temperature is too high or if the press is left closed too long. Always use a Teflon sheet or protective paper between the press and the canvas.
Design Considerations for Canvas Prints
Because canvas has a visible texture, fine details and small text can get lost. Here are some design tips:
- Bold, simple graphics work best. Avoid thin lines and tiny fonts.
- High contrast helps the design stand out against the natural canvas color.
- Distressed or vintage styles naturally complement the rough texture.
- Large prints are more forgiving than small ones, as they cover more of the uneven surface.
Wash and Care Recommendations
To ensure your prints last, advise your customers to:
- Wash in cold water on a gentle cycle.
- Turn the bag inside out before washing.
- Avoid bleach and fabric softeners.
- Air dry or tumble dry on low heat.
- Do not iron directly over the print.
With proper care, a well-applied DTF transfer on canvas can survive dozens of washes without cracking or peeling.
Frequently Asked Questions
Can I use DTF transfers on waxed canvas?
Waxed canvas is not a good candidate for DTF. The wax coating prevents the adhesive from bonding, and the heat can melt the wax. Stick to untreated canvas.
How do I prevent the transfer from sticking to the pressing pillow?
Use a Teflon sheet or parchment paper between the pillow and the bag. Also, make sure the pillow is covered with a smooth fabric.
What is the best way to press a tote bag with handles?
Use a pressing pillow and position the handles outside the press area. If the handles are thick, you may need to press in two stages to avoid uneven pressure.
Can I layer DTF transfers on canvas?
Yes, you can layer, but keep in mind that each layer adds thickness and stiffness. For best results, use a single transfer with all elements combined.
How long should I wait before washing a DTF-printed tote bag?
Wait at least 24 hours after pressing to allow the adhesive to fully cure. Then follow the care instructions above.