
You have probably seen a DTF transfer that looked perfect in the mockup but cracked after two washes, or a batch that peeled at the edges before it even reached the customer. These failures rarely come from bad materials. More often, they trace back to small process errors that go unnoticed until it is too late. Whether you are new to dtf transfers or have been pressing them for months, the same handful of mistakes show up again and again. This guide walks through the most common ones and gives you practical fixes you can apply today.
Mistake 1: Ignoring Fabric Compatibility
DTF transfers are versatile, but they are not universal. They bond best to cotton and cotton blends. On 100% polyester, especially smooth synthetic fabrics, the adhesive can struggle to anchor, leading to peeling after a few washes. On heavily textured fabrics like canvas or burlap, the film may not make full contact, leaving gaps where the print lifts.
Before you commit to a large order, always test a small transfer on the exact fabric you plan to use. Press it, wash it, and check the edges. If you see lifting, consider a different fabric or adjust your press settings. Some printers also use a fabric pre-treatment, but that adds cost and time. The simpler fix is matching the transfer to the right garment from the start.
Mistake 2: Skipping the Pre-Press
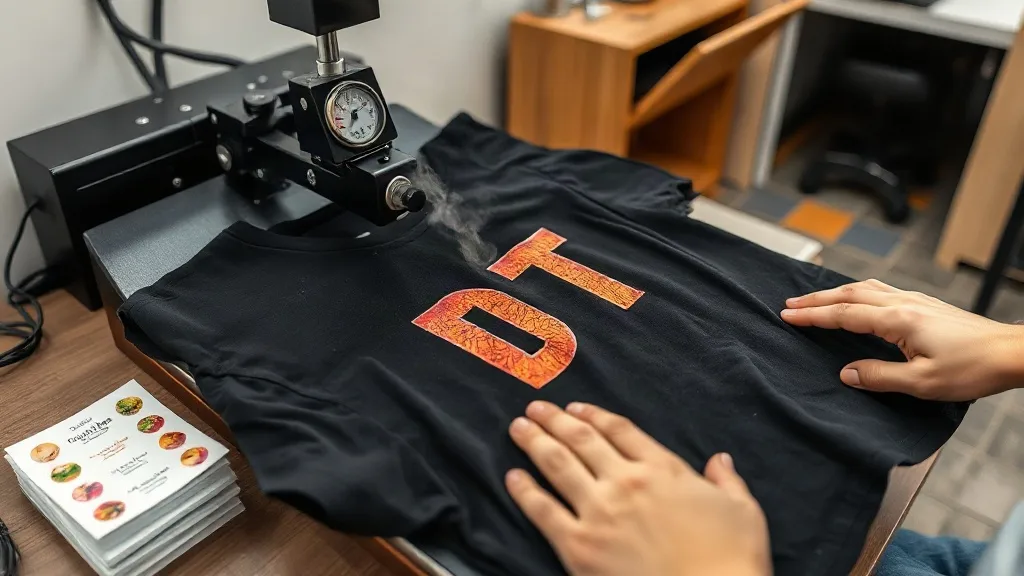
Moisture is the enemy of dtf adhesion. Fabric straight out of the bag often holds ambient humidity, and that moisture turns to steam under the heat press. The steam creates bubbles between the transfer and the fabric, which weakens the bond and causes a cloudy or uneven finish.
Always pre-press the garment for 5 to 10 seconds at your transfer temperature before placing the film. This simple step evaporates surface moisture and smooths wrinkles. It takes seconds and prevents a whole class of adhesion problems. If you work in a humid climate, store blanks in a dry area and consider a dehumidifier for your production space.
Mistake 3: Guessing at Temperature and Pressure
Every DTF film and powder combination has a recommended temperature range, usually between 150°C and 165°C (300°F to 330°F). Exceeding that range can scorch the film, melt the adhesive, or cause the print to yellow. Too low, and the adhesive never fully activates, leading to premature peeling.
Pressure matters just as much. Too little pressure and the film does not make full contact with the fabric texture. Too much pressure and the adhesive can squeeze out beyond the design, creating a visible halo. Use a heat press with a pressure gauge and calibrate it. A good starting point is medium pressure, around 4 to 6 on a 1-10 scale, but always follow the transfer supplier's instructions and adjust based on your test results.
Mistake 4: Peeling the Film Too Soon or Too Late
DTF transfers are typically cold peel or warm peel. Cold peel means you wait until the transfer is completely cool before removing the film. Warm peel means you remove it while still warm. Using the wrong method for your film type can cause the design to tear, leave adhesive residue, or fail to bond properly.
If you are unsure, test a small piece. Peel a corner after 5 seconds, then after 30 seconds. Note how the film releases. For cold peel, patience is key. Rushing the peel is one of the most common causes of edge lifting. For warm peel, work quickly but evenly. Never peel hot, as the adhesive is still fluid and can stretch.
Mistake 5: Storing Transfers Incorrectly
DTF transfers are not indestructible. Exposure to heat, sunlight, and moisture can degrade the adhesive and cause the film to curl or stick to itself. Store unused transfers in a cool, dry place, ideally in a sealed bag or container. Avoid stacking heavy items on top, which can compress the film and create flat spots that affect coverage.
If you buy in bulk, use the oldest stock first. Rotate your inventory and check expiration dates if provided. A transfer that has been sitting in a hot warehouse for months may still look fine but fail in the wash. When in doubt, test a sample from each new batch before running a full production order.
Mistake 6: Overlooking the Importance of a Test Wash
You can do everything right in production and still miss a problem that only shows up after washing. A test wash is your final quality check. Before shipping a large order, take one finished garment and wash it according to the care instructions you plan to give your customer. Check for cracking, peeling, fading, and color bleed.
Many printers skip this step to save time, but one failed test wash can save you from a full batch of returns. Document your test results, including fabric type, transfer settings, and wash conditions. Over time, you build a reference library that helps you troubleshoot faster and maintain consistency.
Mistake 7: Using the Wrong Transfer for the Job
Not all DTF transfers are created equal. Some are designed for high-detail graphics, others for bold, solid colors. Some films are thicker and more durable, while others are thinner and softer to the touch. Using a transfer that is too thick on a lightweight tee can make the print feel like a plastic patch. Using a delicate film on a heavy-duty work shirt may not hold up.
Talk to your supplier about the intended use. If you are printing performance wear, look for transfers formulated for stretch fabrics. For kids' clothing, prioritize softness and wash durability. The right transfer for the job reduces complaints and returns.
Mistake 8: Neglecting the Care Instructions
Even the best DTF transfer will fail if the end customer washes it in hot water and tosses it in a hot dryer. Provide clear care instructions with every order: wash inside out, cold water, gentle cycle, no fabric softener, and tumble dry low or hang dry. This simple step extends the life of the print and sets expectations.
You can also print the care instructions on the inside of the shirt or include a small card. It shows professionalism and reduces the chance of a customer blaming your print for damage caused by improper care.
Frequently Asked Questions
How do I know if my DTF transfer is cold peel or warm peel?
Check the supplier's instructions. Most films are clearly labeled. If not, test a small corner: peel immediately after pressing. If it comes off cleanly, it is warm peel. If it resists or looks smeared, wait until it cools completely and try again. Cold peel films typically release smoothly at room temperature.
Can I use DTF transfers on dark and light fabrics?
Yes, DTF transfers work on both. The white ink layer in the transfer provides opacity on dark fabrics, while on light fabrics the white layer may be thinner or omitted. Always test on your specific fabric to ensure the colors pop as expected.
What is the best way to store DTF transfers for long-term use?
Keep them flat, in a cool, dry place away from direct sunlight. A sealed plastic bag or a dust-free drawer works well. Avoid folding or creasing the film, as this can damage the adhesive. Use older stock first and always test a sample from a new batch.
Why do my DTF transfers crack after washing?
Cracking usually points to insufficient pressure, incorrect temperature, or peeling the film too early. It can also happen if the fabric was not pre-pressed and moisture was trapped. Review your press settings, ensure even pressure, and always pre-press the garment. A test wash will confirm if the issue is resolved.
How long should I press a DTF transfer?
Most transfers require 10 to 15 seconds at the recommended temperature. However, always follow the supplier's guidelines, as film formulations vary. Over-pressing can cause scorching, while under-pressing leads to poor adhesion. Use a timer and stay consistent.